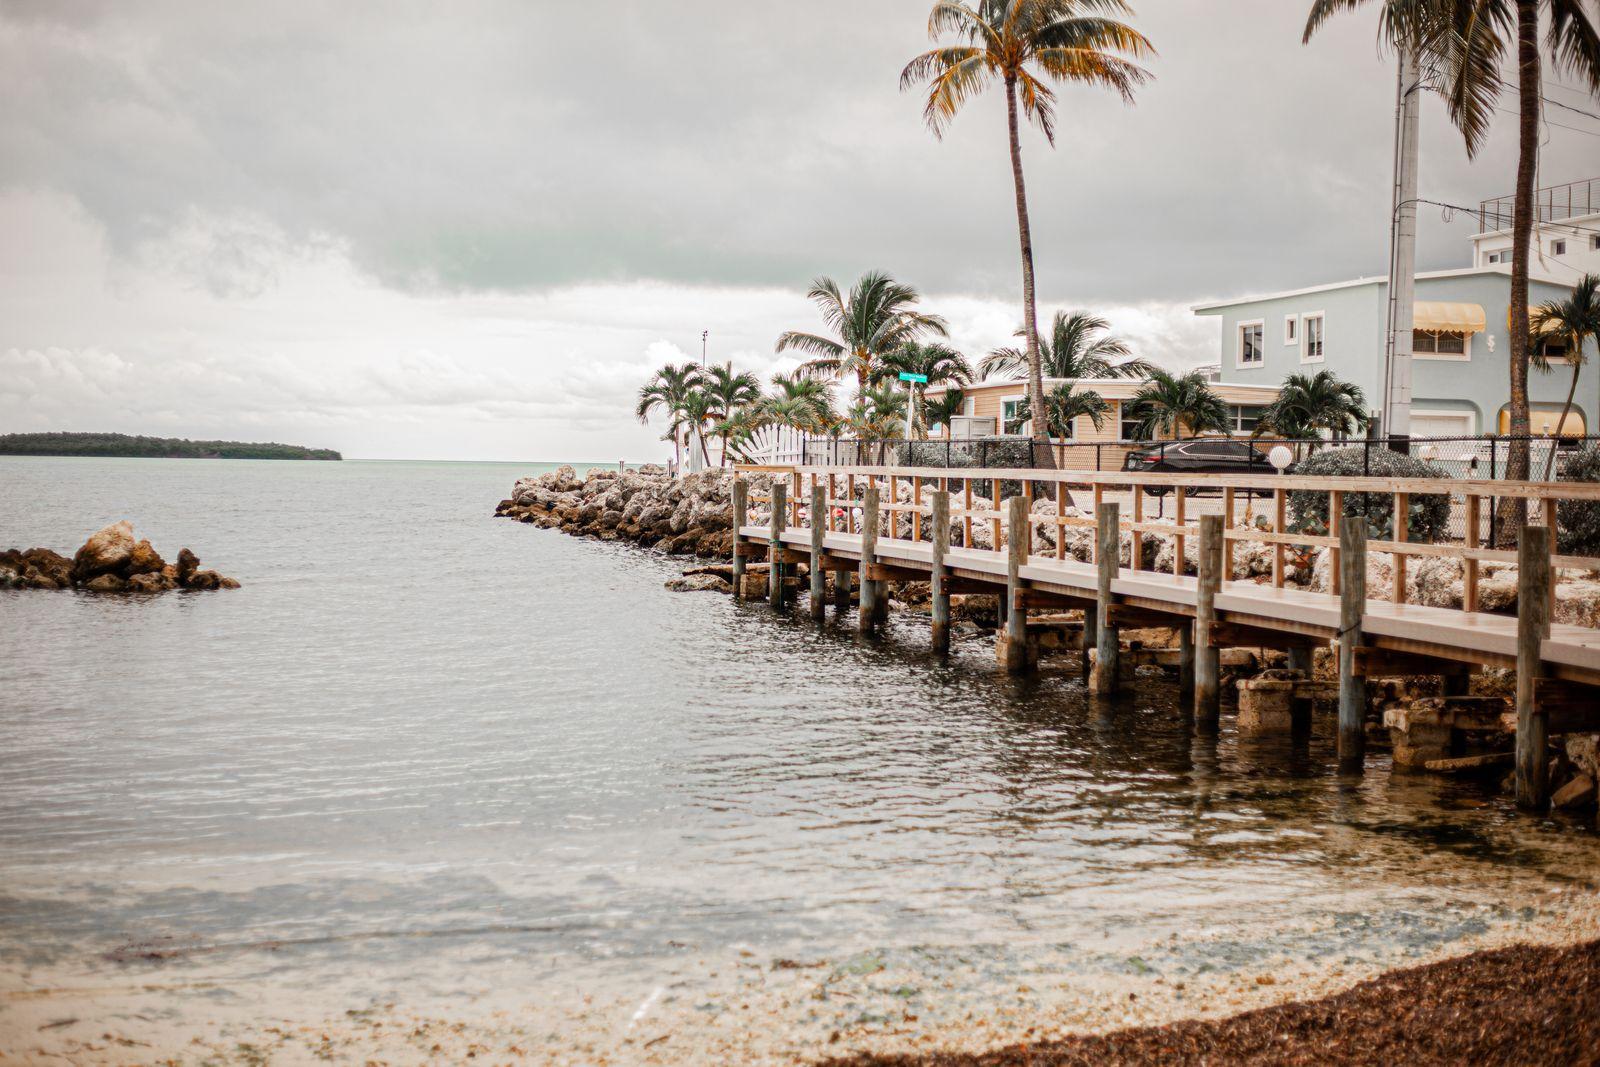
Every year on the First Coast, the same pattern repeats. A storm enters the Atlantic basin, the forecast cone widens to include Northeast Florida, and waterfront owners from Fernandina Beach to Flagler Beach start calling marine contractors at once. By then almost nothing structural can be done. Piling work needs a barge and a permit. Hardware replacement needs parts. The contractors who could help are already booked through landfall.
The work that actually saves a dock happens months earlier, in the quiet weeks of late spring. This checklist splits that work into three windows: what to do before the season opens, what to do when a named storm is five to seven days out, and what to do in the final 72 hours. None of it is complicated. Most of it is free.
Why timing matters more than effort
Hurricane damage to docks is rarely a single catastrophic event. It is usually an existing weakness finding its limit. A piling with six inches of undermined scour at its base holds fine in ordinary tides and fails under surge. A cross brace with two corroded lag bolts holds a dock square all year and lets it rack sideways in sustained wind. Storm surge does not create these problems. It finds them.
That is the whole logic of pre-season preparation: you are not trying to hurricane-proof a dock, which is not really possible. You are trying to enter the season with no known weak points, so that the storm has nothing easy to work on.
The pre-season checklist: do this in May or June
Pilings and substructure
Pilings carry everything. Walk the dock at low tide, when the most vulnerable section of each piling is exposed, and look at the waterline band and the mudline. You are checking for three things: soft or hollow-sounding wood at the tide zone, marine borer damage below it, and scour — the erosion of bottom material around the base that reduces how much of the piling is actually held by the ground.
- Tap each piling at the waterline with a hammer. Solid wood rings; compromised wood thuds and may dent.
- Look for a visible neck or hourglass shape at the tide zone — that is section loss, and it concentrates stress exactly where bending forces peak.
- Check for scour holes at the base, especially on docks in current-swept channels or near a bulkhead return.
- Push firmly against each piling above the deck line. Any movement independent of the structure warrants a professional look at dock pilings before the season.
A piling that needs replacement is the single item on this list you cannot defer, and it is also the one with the longest lead time — often several weeks between assessment, permit confirmation, and barge scheduling. If you find one in May you will likely have it fixed by July. If you find one in September you will be waiting behind everyone whose piling already failed.
Loose hardware and fasteners
This is the highest-value hour you will spend all year. Brackish and salt water on the First Coast attacks fasteners relentlessly, and a dock that is structurally sound can still come apart at its connections. Take a socket set and a screwdriver and go over every bolt, lag, and bracket on the structure — deck-to-joist, joist-to-stringer, stringer-to-piling, and every brace connection.
Snug anything loose. Replace anything showing rust bleed, stem thinning, or a head that is beginning to round off. If you find galvanized hardware weeping orange stains down a piling, that fastener has been sacrificing itself for years and has far less holding strength than its appearance suggests. Stainless steel is the standard worth insisting on for anything you replace over salt water.
Deck boards and walking surfaces
Loose deck boards matter in a storm for a reason owners rarely anticipate: a board that lifts free becomes a projectile, and the gap it leaves gives wind and wave a place to get underneath the deck surface and start peeling. Uplift failure on dock decking almost always begins at one loose board.
Walk the entire deck and step deliberately on each board near its ends. Anything that flexes, springs, or moves under weight gets re-fastened or replaced. While you are down there, check the joists underneath for the dark, spongy areas that indicate rot has moved from the surface into the framing — that is a decking replacement conversation, not a screw-it-down-again one.
Railings, ladders, and accessories
Anything bolted to the dock that is not structural should either be secured properly or planned for removal. Bench seats, rod holders, fish-cleaning stations, kayak racks, and dock boxes all add windage and all become debris. Solar dock lights and low-voltage fixtures should be on a circuit you can kill at the shore end.
The five-to-seven day window: a storm is forecast
When a named storm enters the forecast for Northeast Florida, the goal shifts from repair to reduction. You are removing everything the wind can grab and everything that floats.
- Photograph the entire dock, boat lift, and seawall from multiple angles, including close-ups of any pre-existing damage. Date-stamped photos are the single most useful thing you can have in an insurance claim.
- Remove all furniture, dock boxes, coolers, kayak and paddleboard racks, grills, and loose gear. Store it inside, not on the seawall.
- Unbolt and store removable accessories: bench seats, cleaning tables, umbrella stands, rod holders.
- Take down any canvas, shade sail, or canopy. Fabric under sustained wind either tears loose or takes its frame with it.
- Disconnect and store dock lighting where practical, and turn off power to the dock circuit at the shore breaker.
- Confirm your insurance coverage and deductible for dock and boat lift structures — many homeowner policies treat docks differently from the dwelling, and finding that out afterward is expensive.
Boat lift preparation
Boat lifts take a disproportionate share of storm damage on the First Coast, because they combine a tall, slender frame with cables and a motor in the splash zone. Most lift damage in a storm is preventable, and most of it comes down to two decisions: where the cradle sits and whether the boat stays.
- Raise the empty cradle to its full up position. A cradle left in the water becomes a surge-loaded sail; a raised cradle sits above most surge and presents far less resistance.
- Secure the cradle and any bunks so nothing swings. Slack straps and free-hanging bunks batter the frame in wind.
- Cut power to the lift motor at the breaker and, if the motor housing is not fully sealed, wrap and seal it against wind-driven rain and salt spray.
- Remove the remote receiver, control box cover, and anything else that can be brought indoors.
- Inspect cables before the season, not during the warning — frayed cable under storm loading is a common failure point and a routine boat lift maintenance item.
The hardest call: leaving the boat
The most common expensive mistake on the First Coast is leaving a boat on the lift through a storm with real surge potential. It feels like the safe choice — the boat is out of the water, after all — but a loaded lift concentrates thousands of pounds at the top of a slender frame precisely when the frame is being pushed sideways by wind and undermined by scour at its footings.
Worse, surge does not stop at the cradle. When water rises above the hull, the boat floats off its bunks and starts moving inside the lift structure, and the resulting damage typically totals both. Manufacturers and marine contractors are close to unanimous on this: for any storm forecast to bring significant surge, haul the boat and store it inland. That decision needs to be made days ahead, because every dry-storage facility from Jacksonville to Daytona Beach fills up in the same 48 hours.
The final 72 hours
- Complete the boat decision and execute it. Do not leave it to the last day.
- Do a final walk-through and remove anything that reappeared on the dock since your earlier sweep.
- Double-check that shore power to the dock and lift is off at the breaker.
- Slacken but do not remove any lines you are leaving in place, allowing for surge rise.
- Take a final photo set. The difference between your pre-storm photos and your post-storm photos is the core of your claim.
- Write down your post-storm plan while you can still think clearly: who you call, in what order, and what you will not touch until they arrive.
Your emergency action plan
An emergency action plan is one page. It lists your insurance carrier and policy number, your agent's contact, the contractor you would call for emergency dock repair, your dock's most recent inspection report, and the location of your pre-storm photos. Keep a copy in the cloud and a printed copy somewhere dry. After a major storm, cell service and power are unreliable for days and the owners who recover fastest are the ones who did not have to reconstruct this information from memory.
Post-storm: the first 48 hours
Do not walk out onto a dock after a storm until you have looked at it carefully from shore. Storm-damaged docks fail under foot traffic with regularity, because surge undermines pilings invisibly — the deck looks intact while the support beneath it has lost most of its embedment. If the dock has shifted, racked, or is sitting at a different height or angle than before, treat it as unsafe and stay off it.
- Photograph everything from shore before touching anything, and again as debris is cleared.
- Look for downed power lines near the water and assume any line is live.
- Report damage to your insurer promptly — many policies have notification windows, and the claim queue after a regional event moves slowly.
- Do not authorize repairs from unsolicited crews going door to door. Post-storm contractor fraud is a real and recurring problem in Florida after every major landfall.
- Get a written structural assessment before repair, so the scope reflects what actually failed rather than what is visible.
How this looks across the First Coast
Preparation priorities shift with where you are. Docks on the open Intracoastal through Palm Valley, Vilano Beach, and Crescent Beach face the most direct wind fetch and the strongest current-driven scour, so pilings and bracing deserve the closest pre-season attention. Dead-end canal docks around Jacksonville Beach, Neptune Beach, and Atlantic Beach see less wave energy but more surge rise in confined water, which puts the emphasis on removing anything that floats and raising lifts fully.
Along the St. Johns River through Jacksonville, Orange Park, and Fleming Island, the risk profile is different again: surge has pushed well upriver in recent storms, reaching docks that owners had long considered inland and safe. Farther south through Flagler Beach, Ormond Beach, and Daytona Beach, exposed ocean-influenced frontage puts the premium on structural condition above all else. Wherever you are, the checklist is the same — only the order of priority changes.
Get ahead of the season
If you have not had a professional look at your dock in the last two years, a pre-season dock inspection is the highest-leverage thing you can do before June. It finds the piling and framing problems that a visual walk-through misses, and it gives you a documented baseline of your dock's condition that pays for itself the first time you file a claim. If something turns up, you will have the whole spring to address it. Tell us about your dock and we will connect you with a licensed marine contractor serving your stretch of the First Coast — free, and with no obligation.