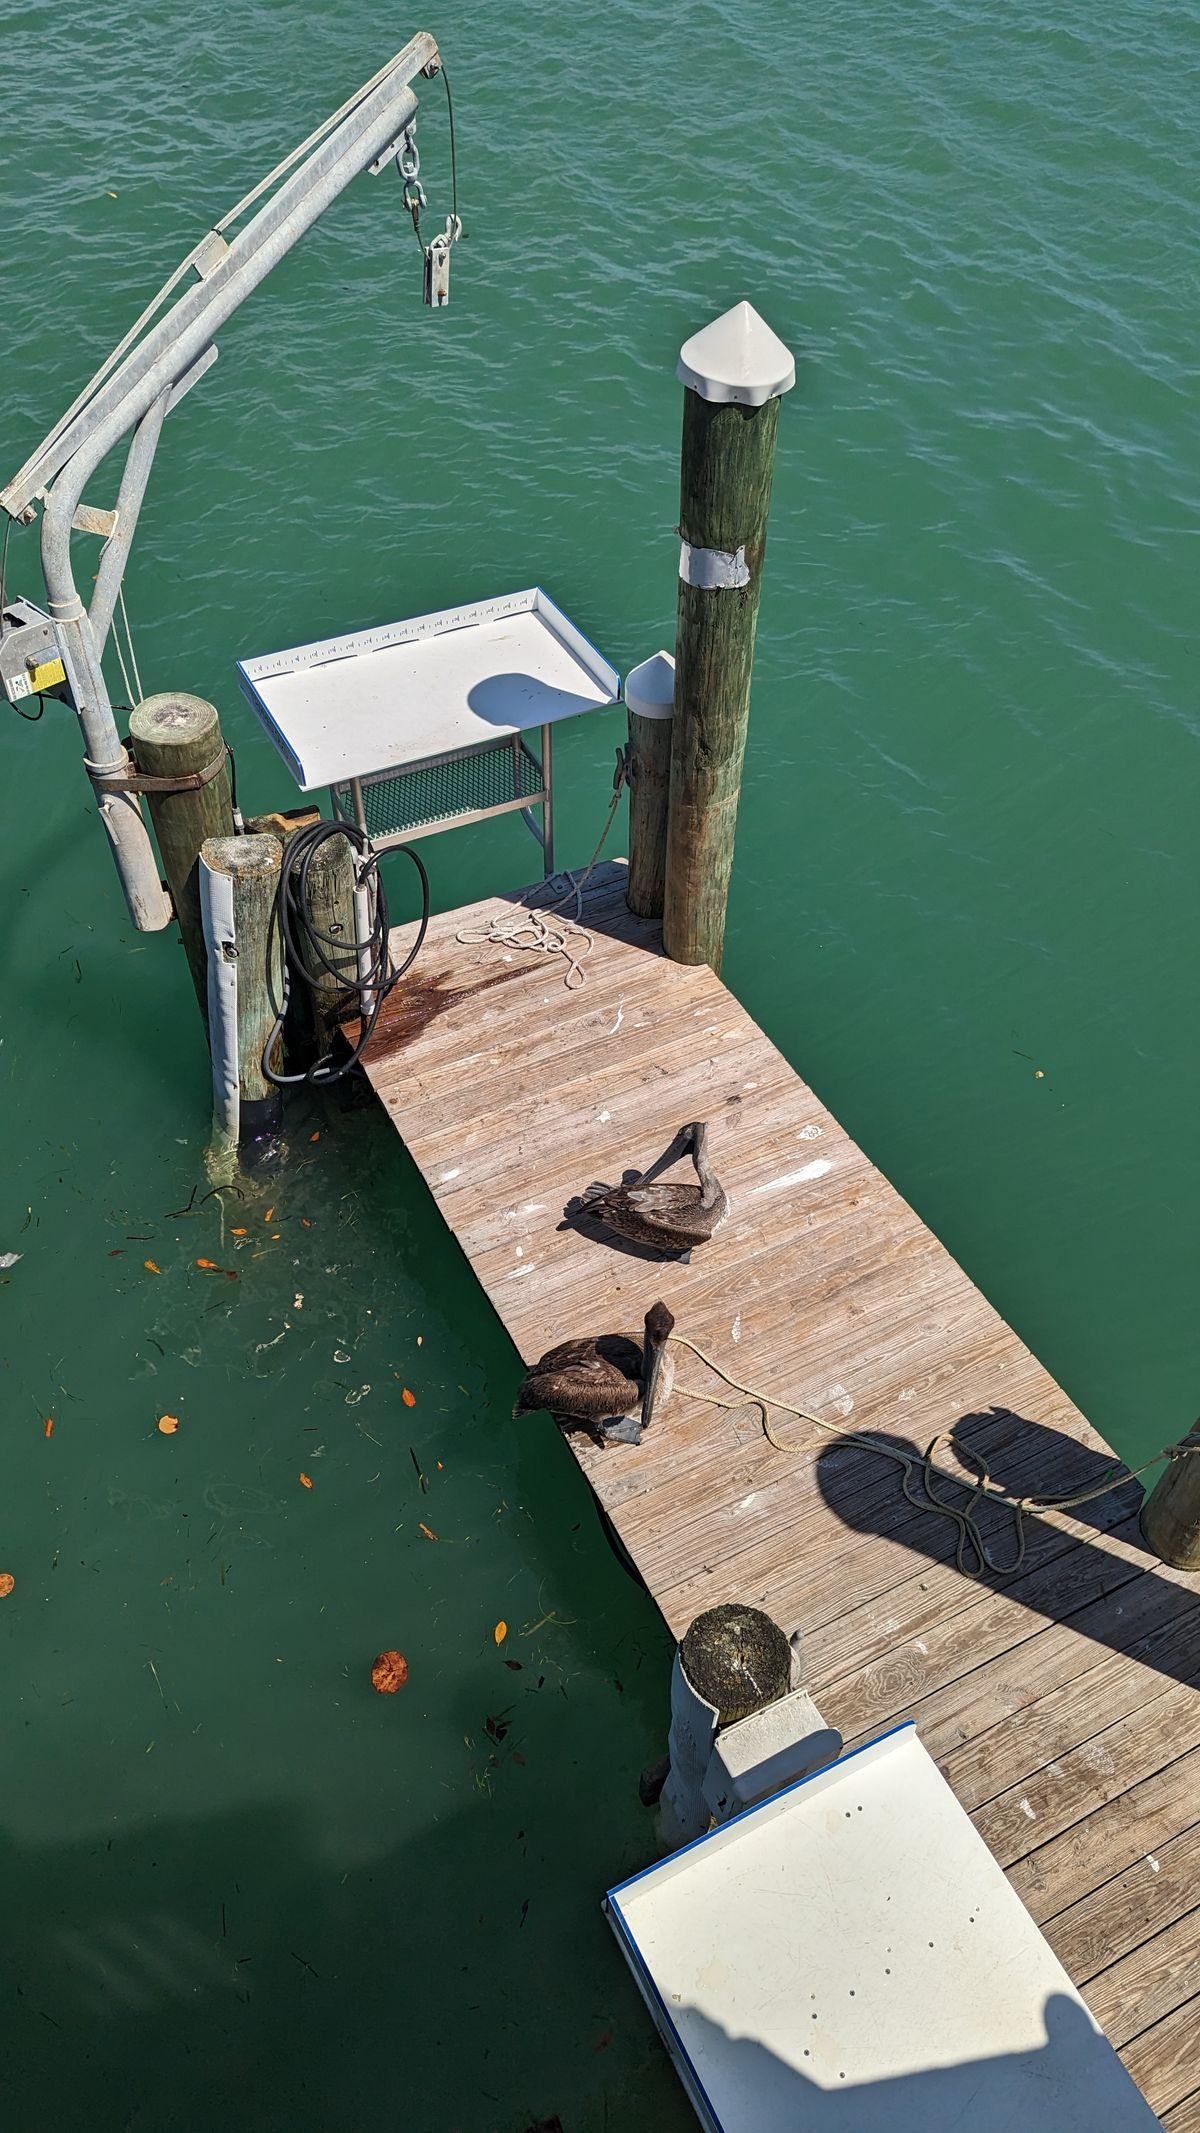
There is a conversation that happens on almost every First Coast dock project. The owner calls about replacing tired-looking deck boards. The contractor gets underneath, and the estimate comes back with framing work the owner never asked about and did not budget for. It feels like an upsell. It usually is not.
Deck boards are the part of a dock you see, walk on, and judge. They are also the part designed to be replaced. The substructure underneath — the joists, stringers, caps, and connections that transfer your weight into the pilings — is what actually holds the dock up, and on a saltwater dock it typically deteriorates faster than the surface above it. Understanding that layer is the difference between buying a repair and buying a repair twice.
How a dock is actually put together
Working from the bottom up, a typical First Coast fixed dock has five layers, and each one hands its load to the one below it.
- Pilings — driven into the bottom, carrying every pound of the structure into the substrate.
- Caps or headers — horizontal members bolted across pairs of pilings, tying them together and giving the framing something to sit on.
- Stringers or girders — the primary beams running the length of the dock, resting on the caps.
- Joists — the smaller members running across the stringers at regular spacing, usually 16 or 24 inches on center.
- Decking — the boards you walk on, fastened down to the joists.
Cross bracing ties the pilings diagonally so the frame resists racking, and that bracing is structural even though it looks like an afterthought. Remove it and the dock becomes a set of hinges.
Why the layer order matters to your wallet
Load travels down, but cost travels up. Replacing a deck board requires touching nothing else. Replacing a joist means pulling the deck boards above it. Replacing a stringer means pulling the joists and the deck. Replacing a cap or a piling means taking apart most of a bay. Each layer down roughly doubles the labor, which is why a small amount of framing rot discovered early is inexpensive and the same rot discovered three years later is not.
Why the substructure fails before the surface
This surprises owners, because the decking is the part exposed to sun, rain, and foot traffic. But exposure is precisely why decking survives: it dries. Framing does not.
Trapped moisture at the deck-to-joist interface
Every deck board sits directly on a joist, and that contact strip never sees sun or airflow. Rain runs through the gaps between boards, wicks into the joint, and stays there. On a Northeast Florida dock, that interface is damp for most of the year, and the top edge of every joist is quietly rotting along the exact line where the boards cross it. Pull the decking off a fifteen-year-old dock and the joists often show a distinct decayed stripe at each board contact point while the sides of the same joist look fine.
The splash zone problem
Caps, lower stringers, and bracing on a low-freeboard dock sit in the splash zone — repeatedly wetted with salt water and repeatedly dried. That wet-dry cycling is far more destructive than continuous submersion, because it concentrates salt in the wood and keeps moisture content in the range where decay fungi are most active. It is the same reason pilings fail at the tide line rather than underwater.
Shade and airflow
The underside of a dock is permanently shaded, and on a low dock over slow-exchange water it has almost no air movement. Docks in the dead-end canals around Jacksonville Beach, Neptune Beach, and Atlantic Beach tend to show this most clearly: the deck surface looks well kept while the framing eighteen inches below it is carrying years of biological growth and retained moisture.
The connections are the real weak point
If there is one thing worth taking from this article, it is that dock framing rarely fails as timber. It fails at the bolts, brackets, and hangers holding the timber together.
Salt water attacks metal far faster than it attacks pressure-treated wood. A structural bolt through a stringer-to-cap connection can lose most of its cross-section to corrosion in a decade over brackish water while the wood around it stays sound. Worse, corrosion products expand, splitting the wood around the fastener and enlarging the hole, so the connection loosens as the fastener weakens. Two failure modes, same bolt.
The galvanic trap
Mixing metals accelerates all of this. Stainless fasteners driven through galvanized brackets, or aluminum hardware bolted with steel, set up a galvanic couple where the less noble metal corrodes preferentially and fast. This is the most common avoidable mistake in dock repair on the First Coast, and it usually comes from a well-meaning owner or handyman replacing a few fasteners with whatever the hardware store had. Consistency of metal matters as much as quality of metal.
Modern marine practice on salt water is hot-dip galvanized or 316 stainless throughout, with the two not mixed at a connection, and isolation between dissimilar metals where mixing is unavoidable. Any dock repair quote that does not specify fastener type on a saltwater structure is leaving out the detail most likely to determine how long the work lasts.
How to inspect your own substructure
You need low tide, a flashlight, a screwdriver, and a willingness to get uncomfortable. Most of this is done from a kayak, a paddleboard, or a crouch at the dock edge.
- Sight down the length of each stringer. Sag, twist, or a wavy line where there should be a straight one indicates a member losing capacity.
- Probe the top edge of accessible joists with a screwdriver, especially directly beneath the deck board contact lines. Easy penetration means decay.
- Inspect every bolt and bracket you can reach. Look for rust bleed, stem thinning, split wood around the fastener, and any bracket standing proud of the wood it should be tight against.
- Check the caps where they bear on pilings. Crushing, splitting, or a cap that has shifted off center on its piling are all significant findings.
- Grab each cross brace and pull. Anything loose has stopped doing its job, and the frame is racking without it.
- Look for daylight where members should be in contact. Gaps mean movement, and movement means the connection is already failing.
If you find soft framing, loose connections, or a sagging stringer, stop guessing and get a dock inspection. The distinction between one bad joist and a systemic framing problem is not something a flashlight and a screwdriver reliably answer, and it is the difference between a four-figure repair and a rebuild conversation.
Material choices for framing
Marine-grade pressure-treated pine
The workhorse of First Coast dock framing, and the right default for most projects. What matters is the retention level: framing over salt water should be specified for marine or ground-contact-plus use, not the general-purpose treatment sold for backyard decks. The difference in cost is modest and the difference in service life is not. Ask for the retention rating in the quote, in writing.
Structural composite and plastic lumber
Composite has taken over decking but has made much less headway in framing, for a straightforward reason: most composite decking products are not rated to span as a structural member. There are structural plastic and composite framing systems available, and they do not rot or host borers, but they cost considerably more and often require tighter support spacing. They make the most sense on docks where access for future framing repair is genuinely difficult.
Concrete and steel
Concrete caps and stringers on concrete pilings are common on commercial docks and marina structures around Jacksonville and are essentially permanent, at a cost that rarely pencils for a residential dock. Steel framing is uncommon in this market outside industrial applications, because the maintenance burden over salt water is substantial.
What framing work costs
- Fastener and bracket replacement across a small dock: roughly $400-$1,800
- Individual joist replacement: roughly $600-$1,500 depending on access and how much decking must come up
- Stringer or girder replacement: roughly $1,200-$3,500 per member
- Cap replacement: roughly $900-$2,500, usually paired with a piling assessment
- Full substructure replacement with existing pilings retained: often 50-70% of new dock cost
These are Northeast Florida planning ranges rather than quotes. When full substructure replacement is on the table, ask for a dock rebuild comparison — once you are taking the deck off and replacing framing, the incremental cost of new pilings is smaller than owners expect, and the result is a dock with a full service life instead of new framing on aging supports.
The decking decision that quietly depends on framing
One practical trap: composite decking generally requires joists at 16-inch centers, while plenty of older First Coast docks were framed at 24 inches. Converting to composite on 24-inch framing means adding intermediate joists — routine work, but it belongs in the quote from the start. A composite bid that never mentions your existing joist spacing has not looked underneath.
The broader point is that the surface and the structure are one decision, not two. Putting a 25-year composite decking surface on framing with eight years left in it guarantees the whole thing comes back apart well before the boards wear out.
Local conditions across the First Coast
Substructure deterioration follows the water. Along the Intracoastal through Ponte Vedra Beach, Palm Valley, Vilano Beach, and Crescent Beach, the driver is mechanical: constant wake works connections loose, so bolts and bracing need attention long before the timber does. In the slow-exchange canals of Jacksonville Beach and Neptune Beach, the driver is biological — persistent damp, heavy growth, and rot that starts at joist tops.
Brackish St. Johns River frontage through Jacksonville, Orange Park, and Fleming Island is hardest on fasteners specifically, and that stretch shows the most galvanic damage from mixed-metal repairs. Ocean-influenced docks toward Flagler Beach, Ormond Beach, and Daytona Beach take the most direct salt spray, which puts the splash-zone framing — caps, lower bracing, and stringer ends — first in line.
Look underneath before you spend
The cheapest dock money you will ever spend is the money spent understanding the substructure before committing to a surface project. If you are planning decking work this year, get the framing assessed first — it costs little, it takes an hour, and it stops you from installing a beautiful new surface onto a structure that needs to come apart in three years. Tell us what you are planning and we will connect you with a licensed First Coast marine contractor for a free, no-obligation look.